A concise guide to the most popular broadcasting software for beginners, with detailed installation and configuration instructions.
Comparison Table
| Feature | BUTT | Winamp + SHOUTcast DSP | Rocket Broadcaster | Altacast |
|---|---|---|---|---|
| Platform | Windows/macOS/Linux | Windows | Windows | Windows/macOS/Linux |
| SHOUTcast Support | ||||
| Icecast Support | ||||
| SSL Support | ||||
| VST Plugin Support | ||||
| Free Version Available |
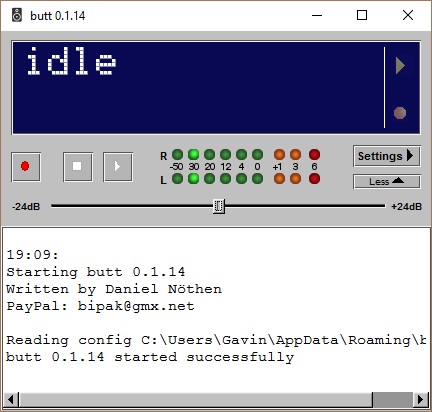
BUTT (Broadcast Using This Tool)
- Cross-platform: Windows, macOS, Linux
- Supports SHOUTcast, Icecast, WebRTC
- Live audio streaming from mic or line input
Installation & Configuration Steps
- Download and install BUTT for your OS.
- Open the program and navigate to Settings -> Main.
- Add a new server: choose type (SHOUTcast/Icecast), enter hostname, port, password, and mountpoint.
- Configure audio input device, sample rate, and bitrate.
- Enable metadata updates if desired, set song title format.
- Click Play to start streaming. Monitor logs for connection errors and adjust input levels as needed.
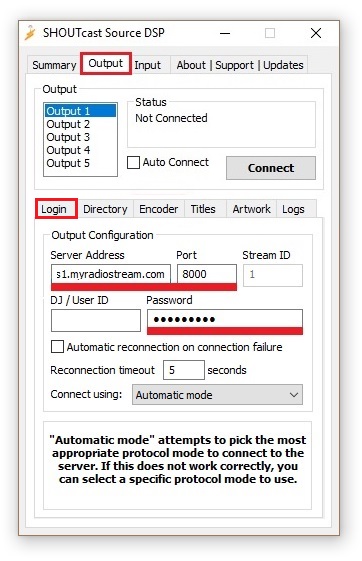
Winamp + SHOUTcast DSP
- Free and widely used for internet radio
- Supports SHOUTcast v1 and v2 servers
- Live broadcasting with metadata support
Installation & Configuration Steps
- Download and install Winamp and the SHOUTcast DSP plugin.
- Open Winamp and press Ctrl + P to open preferences.
- Select DSP/Effect and choose Nullsoft SHOUTcast Source DSP.
- Enter server details: hostname, port, password, and mountpoint.
- Choose audio input device and set desired bitrate and sample rate.
- Adjust crossfade, buffer, and latency settings for smooth playback.
- Click Connect or Play to start broadcasting. Monitor the stream status panel for errors.
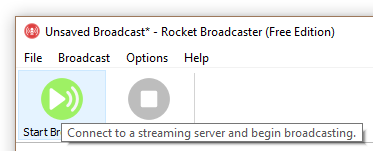
Rocket Broadcaster
- Supports SHOUTcast, Icecast, and Rocket Streaming Audio Server
- SSL support for secure streaming
- Integration with VST plugins for audio processing
- Compact interface for efficient use of screen space
Installation & Configuration Steps
- Download Rocket Broadcaster from the official site and install.
- Run the software and select Broadcast -> Streams to create a new stream.
- Enter server hostname, port, password, and select server type (SHOUTcast/Icecast).
- Go to Options -> Preferences to configure audio device, sample rate, and bitrate.
- If using VST plugins, add them under the audio effects section.
- Click the play button to start broadcasting. Monitor logs for connection status and adjust buffer if needed.
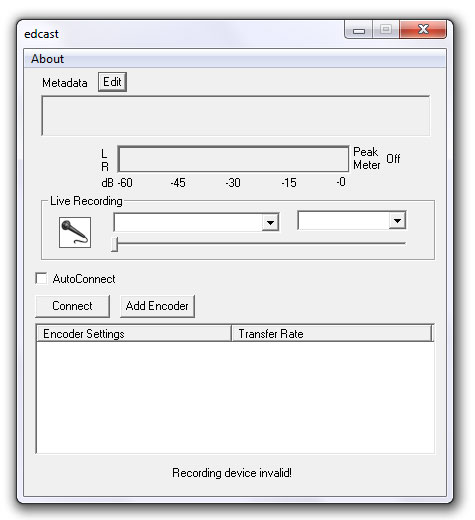
Altacast (formerly Oddcast/Edcast)
- Supports SHOUTcast and Icecast
- Multiple audio formats and codecs
- Live broadcasting with metadata
Installation & Configuration Steps
- Download and install Altacast from the official site.
- Open Altacast and click Add Encoder.
- Choose the server type (SHOUTcast/Icecast) and enter hostname, port, password, and mountpoint if needed.
- Select audio input device (microphone, line-in, or virtual device).
- Configure codec, bitrate, and sample rate according to your server limits.
- Enable metadata updates for live song titles if required.
- Click Start to begin broadcasting. Monitor the status window for connection or audio errors.